Dance Studio Storage and Traffic Flow: The Quiet Details That Make a Room Feel Premium
A premium studio rarely announces itself with one dramatic gesture. More often, it feels resolved because every ordinary moment has been considered: where students enter, where bags land, where parents pause, where teachers stand, and whether the path to the barre feels intuitive instead of crowded.
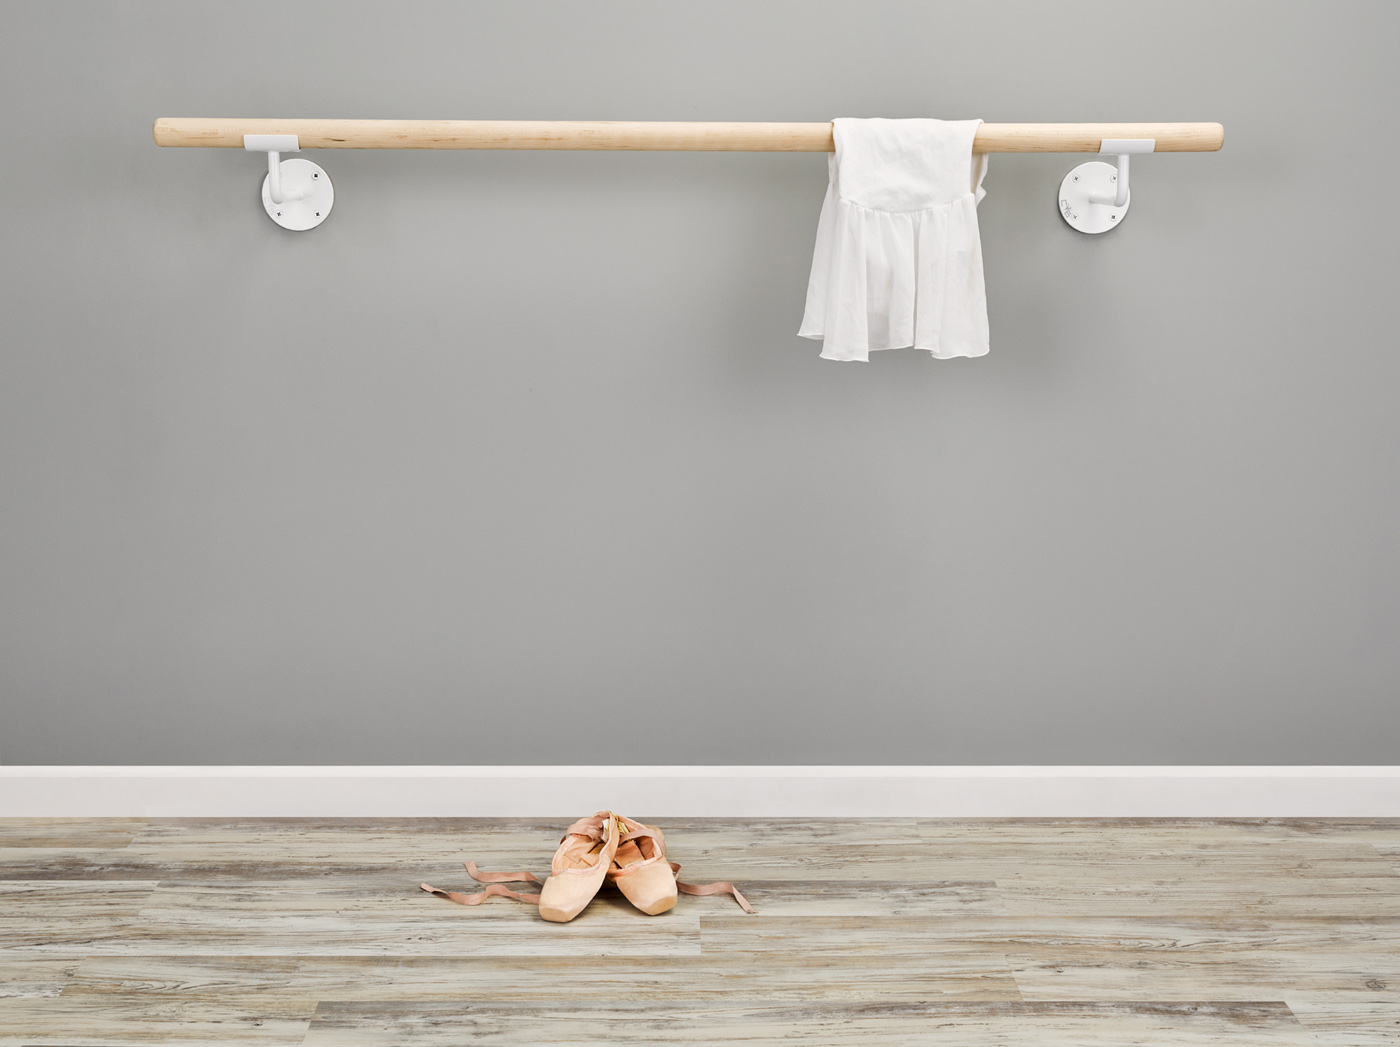
When traffic flow is careless, the room feels smaller, mirrors get blocked, classes start less cleanly, and even a beautiful barre wall can lose its authority.
At the point where a buyer is searching for dance studio storage and traffic flow, the conversation has usually matured beyond a generic barre. The real question is how the room should feel, how the installation should behave, and how the product can support the brand standard without compromise. That is where Custom Barres becomes useful: the specification can follow the room instead of forcing the room to follow a catalog shortcut.
The Decisions That Matter Most
Storage and circulation should be treated as part of the teaching plan, not as leftover operational details.
- Entry rhythm: Define where students should move during arrivals, transitions, and dismissals so the teaching wall stays calm.
- Bag control: A visible but disciplined storage zone protects the premium look of the room better than asking people to improvise.
- Barre adjacency: The space directly in front of the barre should feel clear, not compressed by benches, cubbies, or equipment carts.
- Instructor sightlines: The best traffic patterns preserve the teacher's ability to reset the room quickly without constantly redirecting movement.
What to Confirm Before Pricing
The strongest projects become easier the moment the team translates taste into concrete decisions. That means confirming not only the look of the barre, but also how it will be used, what the wall or floor allows, and what kind of daily experience the room needs to deliver.
- Storage wall: Choose one wall or zone for bags, shoes, props, and jackets before mirror and barre locations are finalized.
- Teaching clearances: Keep exits, water stations, and storage doors out of the busiest teaching path where possible.
- Barre run length: Confirm the linear footage supports class size without forcing students into door swings or corner bottlenecks.
- Daily reset: Plan the room so staff can return it to a premium visual baseline in minutes, not at the end of the day.
Where Premium Rooms Usually Lose Quality
Most disappointing rooms are not ruined by one dramatic mistake. They drift off course through a series of small compromises that make the finished space feel more generic, more awkward, or less stable than the rest of the project.
- Pretty but impractical benches: Loose furniture often becomes visual clutter and steals usable teaching space.
- Storage opposite the teaching wall: Students crossing the full room for every item adds unnecessary movement and noise.
- Ignoring parent observation points: Where parents wait changes the rhythm of arrivals more than many owners expect.
- No visual hierarchy: If everything competes for attention, the barre wall stops feeling like the room's anchor.
Why Custom Barres Fits This Use Case
A premium barre package should feel intentional in the same way premium millwork, lighting, or flooring feels intentional. The best rooms do not hide their quality. They make it feel inevitable.
- Clean visual anchor: A Custom Barres system gives the room a disciplined focal point that can organize the whole teaching wall.
- True-to-room lengths: Custom run lengths help the circulation plan feel intentional rather than adapted around standard sizes.
- Finish discipline: Wood and bracket choices can reinforce the calm, premium character of the room instead of adding noise.
- Project-level planning: The Architect Portal helps owners and designers align the barre package with storage, mirrors, and traffic flow earlier.
Recommended Next Steps
The cleanest next move is to keep the decision attached to the room itself: the user profile, the level of finish, the mount conditions, and the visual standard the owner wants to protect.
- Map student arrival and dismissal before moving any equipment.
- Choose the teaching wall first, then place storage so it supports that wall instead of competing with it.
- Confirm class capacity against actual barre footage and traffic clearances.
For pricing direction, use the quote tool. For larger projects, design teams, and multi-room planning, use the Architect Portal so specification and aesthetics stay aligned.