Commercial Dance Studio Opening-Day Equipment Checklist
Opening day is not just a photo moment. It is the first time the room has to work under real pressure: students arriving, instructors teaching, parents watching, bags piling up, music playing, and every piece of equipment being used at once.
A final equipment checklist helps owners catch the small issues that can make a polished studio feel unfinished.
For most serious buyers, the question is not whether they need a ballet barre. The question is which type of ballet barre best fits the room: a wall mounted ballet barre, a floor mounted ballet barre, a portable ballet barre, or a more custom commercial layout. That is where Custom Barres becomes useful. The product can follow the architecture, the users, and the business model instead of forcing the project to compromise around a generic kit.
The Commercial Decision
The barre package should be tested as part of operations, not only inspected visually.
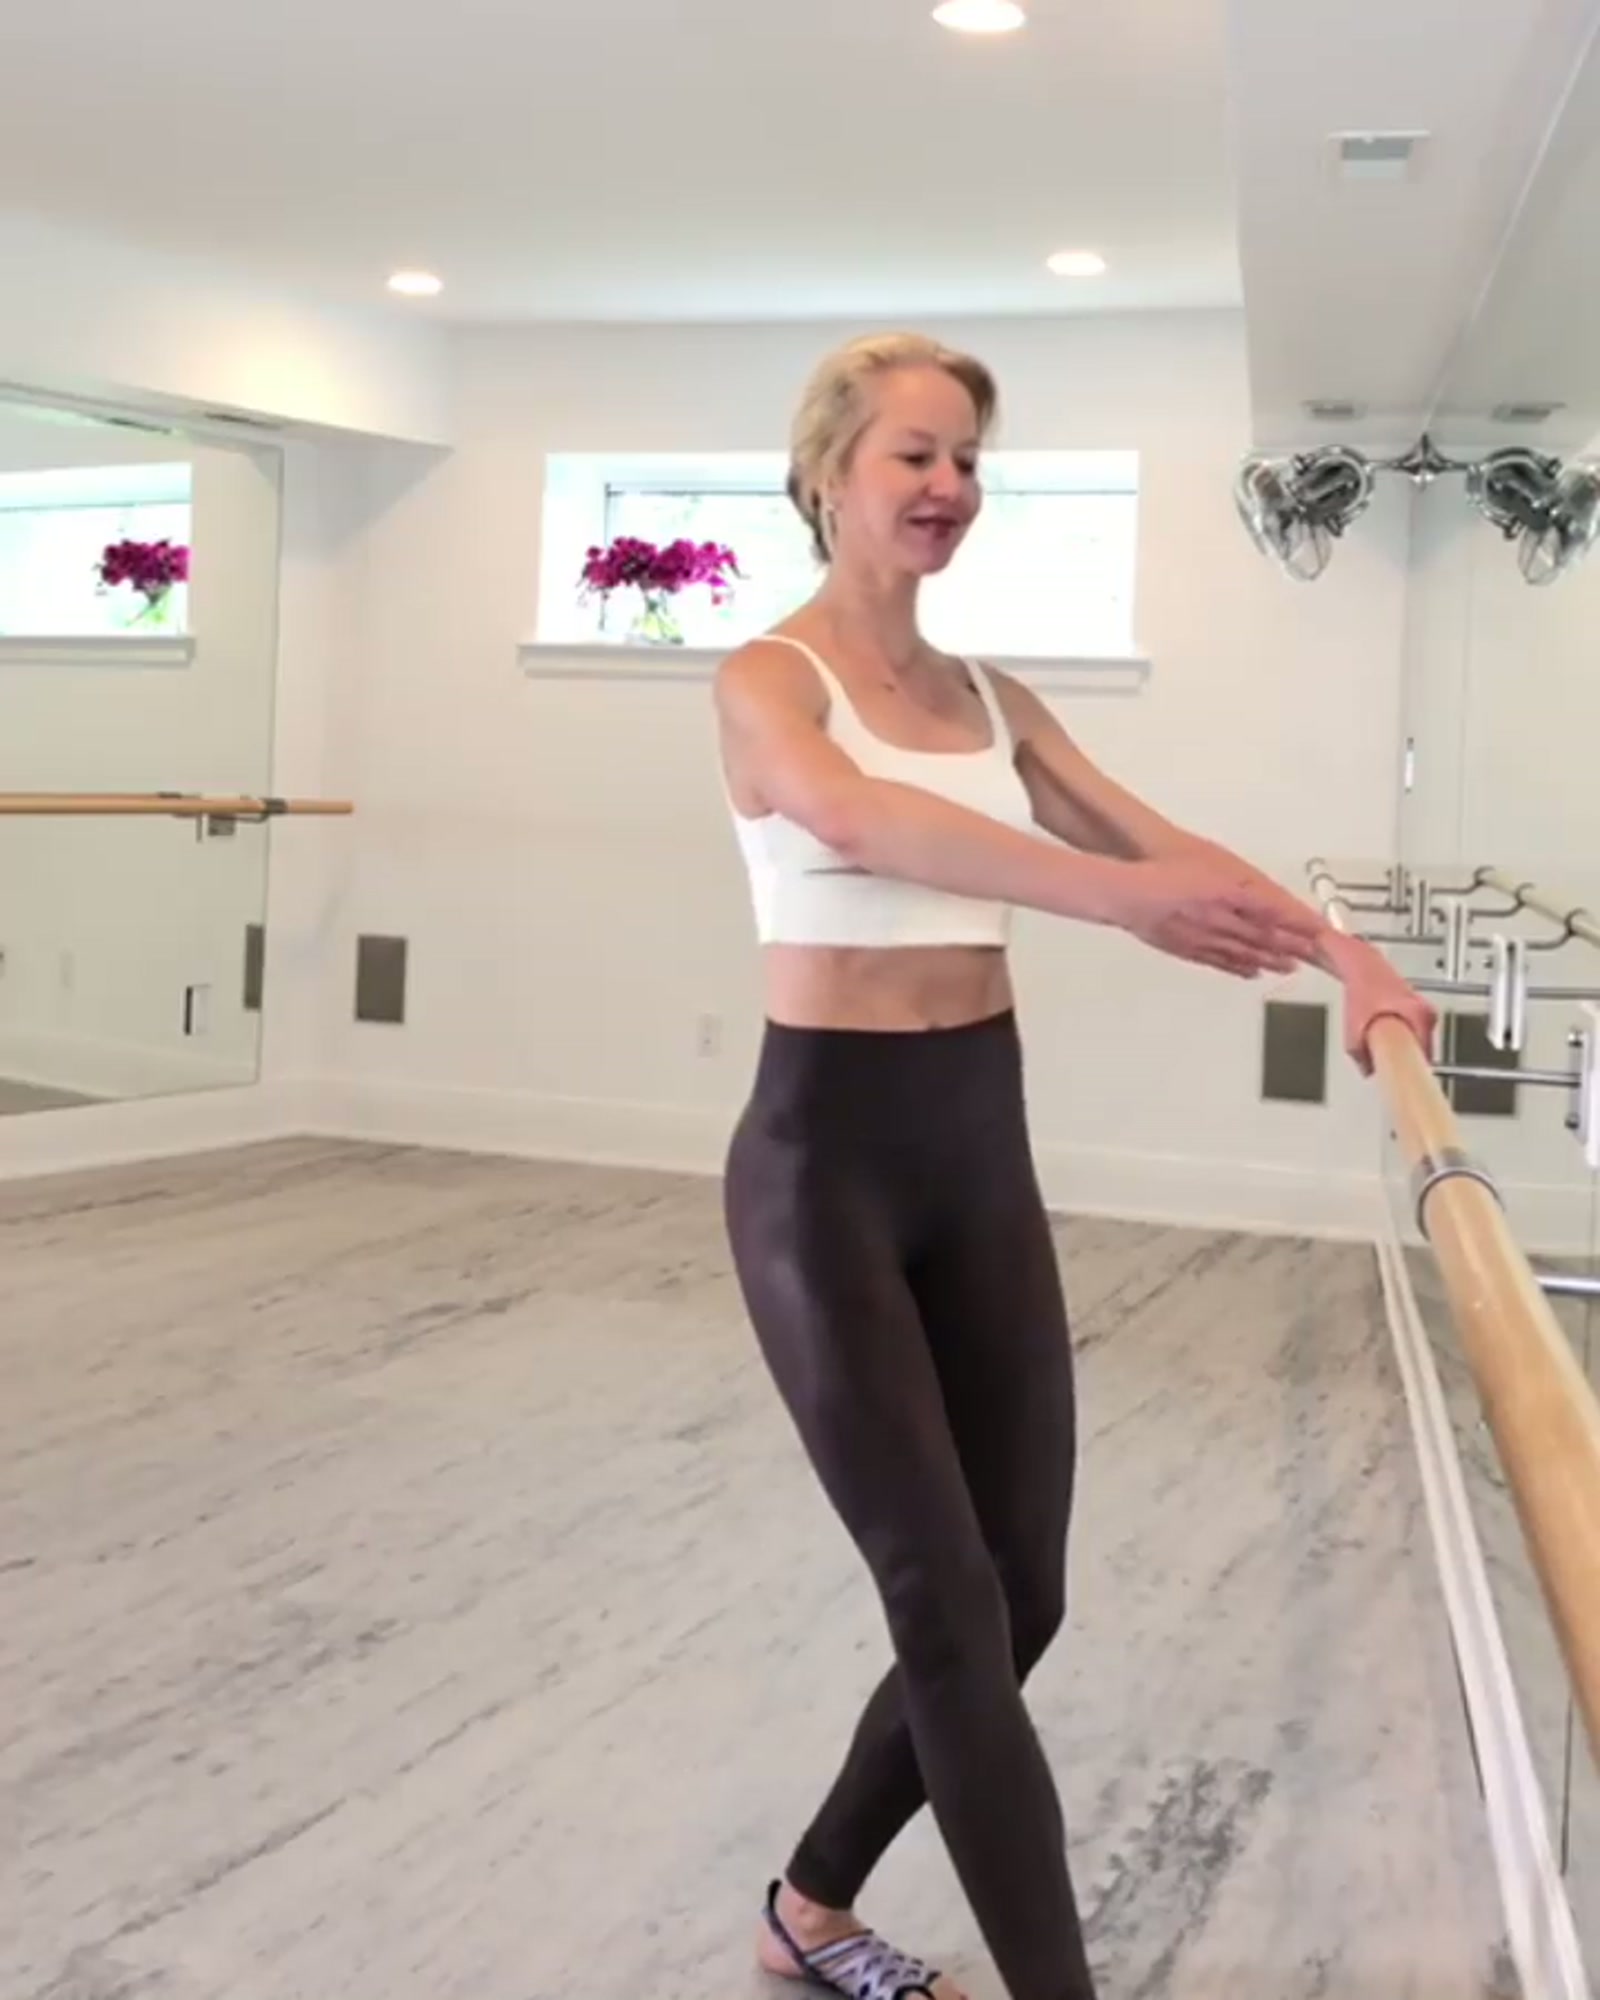
- Barre stability: Every wall mounted, floor mounted, or portable ballet barre should be load tested before students arrive.
- Mirror readiness: Mirrors should be clean, secure, and free from awkward sightline problems.
- Floor clearance: The room should have clear movement zones, safe transitions, and no clutter at barre ends.
- Instructor flow: Teachers should rehearse how they will move, demonstrate, and manage class traffic.
What a Serious Buyer Should Confirm Before Pricing
At the stage where a buyer is searching for dance studio opening day equipment checklist, the conversation should move beyond generic equipment. This is usually the point where terms like wall mounted ballet barre, portable ballet barre, commercial ballet barre, and Custom Barres become useful because they keep the discussion tied to the real room, real users, and real installation conditions.
What to Specify Before Anyone Prices the Project
A strong ballet barre specification is not just a product name. It should translate the room, users, installation conditions, and finish direction into details a contractor or procurement team can act on.
- Hardware check: Inspect brackets, anchors, base plates, barre connections, and any set screws.
- Clean surfaces: Wipe barres, mirrors, floors, and high-touch areas before first use.
- Storage: Assign places for bags, props, cleaning supplies, and portable equipment.
- Signoff: Have the owner or lead instructor approve the room after walking through an actual class scenario.
Why This Matters for Revenue, Operations, and Owner Confidence
For commercial buyers, the real payoff is clarity. A better specification shortens quote cycles, reduces change orders, protects the finish and installation sequence, and gives owners more confidence that the room will perform well after opening day — not just at the moment of purchase.
Where Projects Usually Lose Quality
Most problems show up when the barre package is treated as a late accessory instead of a permanent architectural element. These are the details to protect early.
- Only checking appearance: A room can look ready and still fail once students use it.
- No class simulation: Run through entries, exits, water breaks, and transitions before opening.
- Loose details: Small hardware or trim issues are easier to fix before daily traffic starts.
- Missing future list: Document anything that should be improved in phase two while the observations are fresh.
How Custom Barres Fits This Use Case
Custom Barres is strongest when the room needs more than an off-the-shelf barre system. We build custom ballet barres for the actual length, mount type, wood species, bracket style, and finish direction of the project. That means the specification can support the way the room will really be used rather than settling for whatever standard size happens to be available.
- Stable systems: Custom Barres installations should feel solid and professional before the first class.
- Polished finish: Hardwood barres help the room feel complete and premium.
- Expansion path: Future rooms or added barres can match the same product standard.
- Support tools: The Architect Portal and quote tool help make the next room easier to plan.
Recommended Next Steps
The strongest next step is to keep the product conversation attached to the room itself: who uses it, how often, what the teaching wall needs to do, and what level of finish the client expects. That is how better projects protect both quality and margin.
- Load test every barre system before students use the room.
- Walk the space as an instructor, student, parent, and cleaner.
- Fix hardware, storage, and traffic issues before the first full schedule.
- Record what should be standardized for future rooms or expansions.
For larger rooms, multi-room facilities, or projects with architects and contractors involved, start with the Custom Barres Architect Portal. For pricing direction, use the quote tool so the specification and budget move together.